
Contacts app: guide to imports, labels and contact lists
A complete guide to contact lists, imports, labels, custom fields, exports and unregistering in iP.1's contacts app.
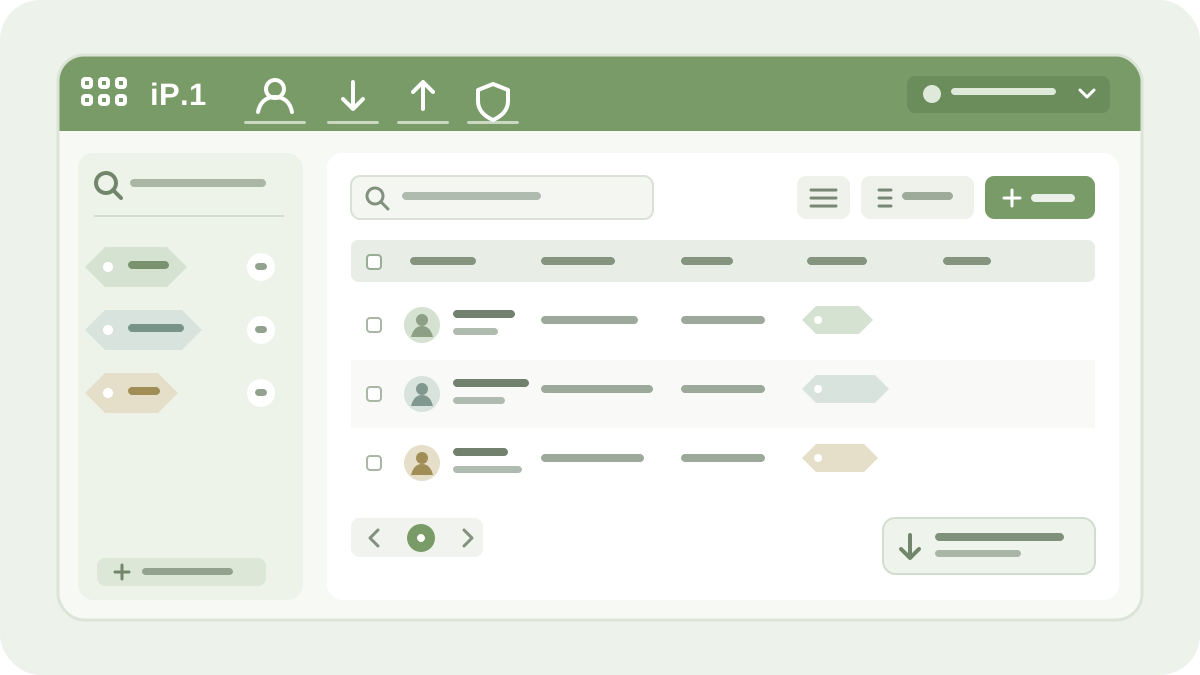
The contacts app is the shared home for contacts used across iP.1’s services. It lets you create and import contacts, define custom fields, organise recipients with labels and manage unregistered phone numbers and email addresses.
This guide follows the current contacts app interface, from contact data to a ready-to-use recipient selection.
Find your way around the contacts app
Open the app from the app selector in an iP.1 service, through Contacts → Go to contacts app in Web SMS or from the Import contacts shortcut on the One Channel Dashboard.
The main navigation has four sections:
- Contacts – contact list, labels and duplicates,
- Import – import from a list, file or the previous Web SMS,
- Export – export contacts to Excel,
- Privacy – unregistered phone numbers and email addresses.
The account selector is in the header. Check it before making changes because contacts, labels and privacy lists belong to the selected account.
Work with the contact list
The default list columns show first name, last name, email address, mobile number and labels. The column selector can also display Organisation and Full name.
Above the list, you can:
- search contacts,
- toggle the list view,
- choose visible columns,
- open Manage duplicates,
- add a new contact.
Select a label in the left sidebar to filter the list. The sidebar also has its own label search. Pagination and the number of rows shown are controlled below the table.
Manage several contacts at once
Select contacts with the row checkboxes. The available bulk actions let you:
- Create labels for selected contacts,
- Remove labels for selected contacts,
- Remove selected contacts,
- Unregister selected contacts.
Remove deletes the contact from the contact list. Unregister blocks the contact’s phone number and email address through the privacy lists. An unregistered contact can be selected and Re-registered again.
Add or edit a contact
Select Add new contact or open an existing contact. The form has two tabs.
Under Contact details, you can enter:
- first and last name,
- mobile number and email address,
- organisation,
- street, postcode, city and country,
- one or more labels.
Under Properties & fields, you can create custom fields. These can be used in contact-specific messages and segments, for example a customer number, department or membership level.
Use Add/Remove labels to connect existing labels to the contact or create a new one. Finish with Save contact.
Import contacts
Open Import. The start page offers two methods:
- List/file – paste a list or upload a file,
- Web SMS – move contacts from the previous contact system.
Select List/file for a new list.
Prepare the file
The wizard accepts formats including .xls, .csv and .txt. Put each type of detail in a separate column and include a header row:
Phone,Email,FirstName,LastName,Organization
46700000000,anna@example.com,Anna,Andersson,Example Ltd
Columns can be separated by a tab, semicolon, comma or pipe (|). A sample CSV can be downloaded from the first step.
Step 1: Paste text
Upload the file or paste the rows into the text area. Select the separators in use and choose Ignore the first row when the file has column headings.
Review Preview contact data. If the columns are not separated correctly, adjust the separators before continuing.
Step 2: Options
The import wizard can:
- ignore incorrect phone numbers,
- ignore incorrect email addresses,
- skip contacts that share a label with existing contacts,
- update an existing contact when the imported contact shares a label.
Phone number and email validation are enabled by default. The two label-comparison options are disabled by default.
Step 3: Assign fields
Select the Default country used to interpret phone numbers without a country code. Then map every file column under Use as:
- Phone number,
- Email,
- First name,
- Last name,
- Organisation,
- a custom field or label.
Columns that should not be stored can be skipped. A phone number is needed for SMS and an email address is needed for email.
Step 4: Assign labels
Enter one or more new label names separated by commas, or select existing labels under Your labels.
Each successful import also receives an automatically generated label with the prefix import-. This makes it easy to find the exact contacts added in a particular import.
Step 5: Confirm
Confirm import displays the number of possible rows. Go back if anything needs changing. When the summary is correct, select Import contacts.
The final step shows the import progress. Afterwards, open the contact list and check a few rows, fields and labels.
Organise contacts with labels
Labels create reusable recipient selections, for example by customer type, location, department or campaign. One contact can have several labels.
Open Manage labels to see the contact count for each label. When one or more labels are selected, you can:
- delete the selected label,
- transfer contacts between labels,
- combine labels.
Use short, descriptive names. Customers – Stockholm is easier to select correctly than an unexplained internal abbreviation.
Check duplicates
Select Manage duplicates from the contact list. The tool scans the contacts and reports how many duplicate phone numbers it finds.
The tool focuses on phone numbers. Check email addresses and other fields as well when two records appear to represent the same person.
Export the contact list
Open Export and select Excel. The contacts app creates an Excel workbook in .xlsx format.
Manage unregistered details
Privacy has two separate tabs:
- Phone for phone numbers,
- Email for email addresses.
In both views, you can search, add an unregistered detail, delete selected entries, clear the list or export it. The table shows the detail and when it was created. A change may take a few minutes to appear across all connected services.
Use contacts in Web SMS
Select Contacts below the To field in Web SMS. You can search for a contact, select several contacts or add everyone with a particular label.
Continue in the Web SMS feature guide once the recipients are selected.
Use contacts in One Channel
In the campaign recipient step, you can include or exclude labels. You can also create a segment or use a file directly in the campaign.
Continue on the One Channel service page for an overview of channel selection, content and campaign reporting.
Common problems
All data appears in one column
Return to Paste text and select the correct separator: tab, semicolon, comma or pipe.
No valid phone numbers are found
Check the country code, Default country and that the phone column is assigned to Phone number.
Email addresses are missing after import
Check that the column is assigned to Email and was not skipped. Also review the option for incorrect email addresses.
A label is not visible
Refresh the contact list and search for the label. Also check the automatically generated label with the import- prefix.
The same phone number appears more than once
Open Manage duplicates and review the records with the same phone number.
Pre-import checklist
- The correct account is selected.
- The header row and separators are configured correctly.
- The preview separates data into the correct columns.
- The validation and update options have been reviewed.
- Every column is assigned to the correct contact field.
- The default country and phone number format have been checked.
- Labels clearly describe the selection.
- The number of possible rows has been reviewed before import.
If you need help with an import or contact list, contact customer support.